Opera extensions developer workflow
From Opera 15 onward, Opera 11 & 12’s extension format is no longer supported, and instead, we’ve switched to Chromium’s extension model. Check out our new documentation for developing extensions for Opera 15 and higher and start building your own extensions.
Contents
Introduction
In this short article, we’ll look at the developer workflow to create extensions, give some tips for extension development, and point out a couple of caveats. There is also a video embedded into the article at the end, which explains some of the same concepts discussed in the text.
For this guide, we start with the Hello World example introduced in Saying hello world to Opera extensions!: go through the steps outlined in the article, but don’t zip up the content just yet – we’ll first do some debugging and fine-tuning.
If you have gone through all steps except packaging, you should have something similar to the folder structure in Figure 1.
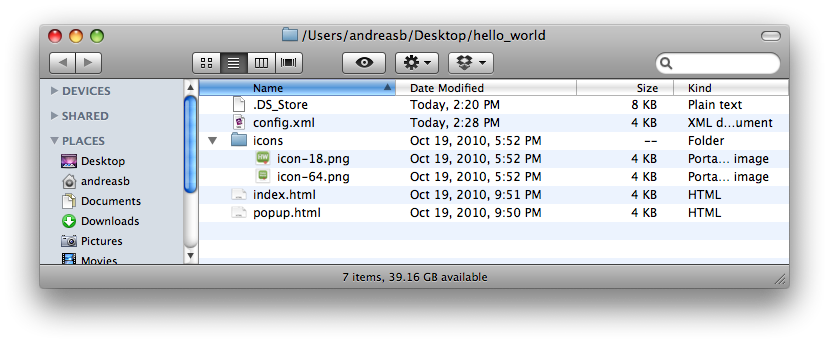
Figure 1: Hello World extension folder structure.
Developer mode
You can simply drag and drop the config.xml onto an open Opera window or its application icon, and the extension will be activated in the so-called “developer mode”. You’ll also see it listed as such in Opera’s installed extensions overview. Just like normally installed extensions, extensions in developer mode have “Disable” and “Uninstall” buttons, as well as a “Preferences/Privacy” dropdown. It is worth mentioning that installing and uninstalling extensions in developer mode does not modify anything on your hard drive — clicking the “Uninstall” button only removes the extension reference from the “Developer mode” section.
You’ll also notice that each extension running in developer mode gets two extra buttons: “Reload” and “Open containing folder”.
The “Reload” button will refresh the whole extension, allowing you to quickly try out some changes. For example, try altering <name>, <description> and <author> in the config.xml, and hit “Reload”: your changes are applied immediately, and you can make further tweaks as you go.
In case you have trouble locating the folder you’re developing from, you can easily find it in your file manager via the “Open containing folder” button.
Error console
For further debugging, you can use the Error Console, which you can open from the “Developer mode” section, the “Developer Tools” menu item, or by using Ctrl/Cmd + Shift + O.
You can then use opera.postError to post debugging messages to the Error Console. For an example on how to do this, have a look at our article on Messaging.
Of course, you can also use Opera Dragonfly for more powerful DOM/JS/CSS debugging. You'll find all installed extensions listed in Opera Dragonfly's debugging context dropdown menu.
Packaging your extension
Once you're done, your modifications are ready to be packaged as an extension.
- Open the containing folder in you file manager (or click the “Open containing folder” button).
- Create a zip file with all files included in this folder. It's important the folder itself is not included. It's also good practice to not include invisible files that happen to be created by the system or version control software. For instance, on Mac, you can create a zip without .DS_Store files or .svn folders with the following command:
cd myextension/ zip ../myextension.oex . -r -x '*.svn/*' -x '*.DS_Store' - If the zip tool has created a
.zipfile, change the extension to.oex - Drag and drop the new extension on the browser window and accept.
- Confirm that everything works as intended, and submit your extension to the Extensions Catalog.
Andreas Bovens

Andreas is based in Oslo, where he works for Opera Software as Extensions Product Manager + Developer Relations.
This article is licensed under a Creative Commons Attribution 3.0 Unported license.
Comments
The forum archive of this article is still available on My Opera.
No new comments accepted.